How to Create AI Ad Videos with ReelMe's Ads Studio
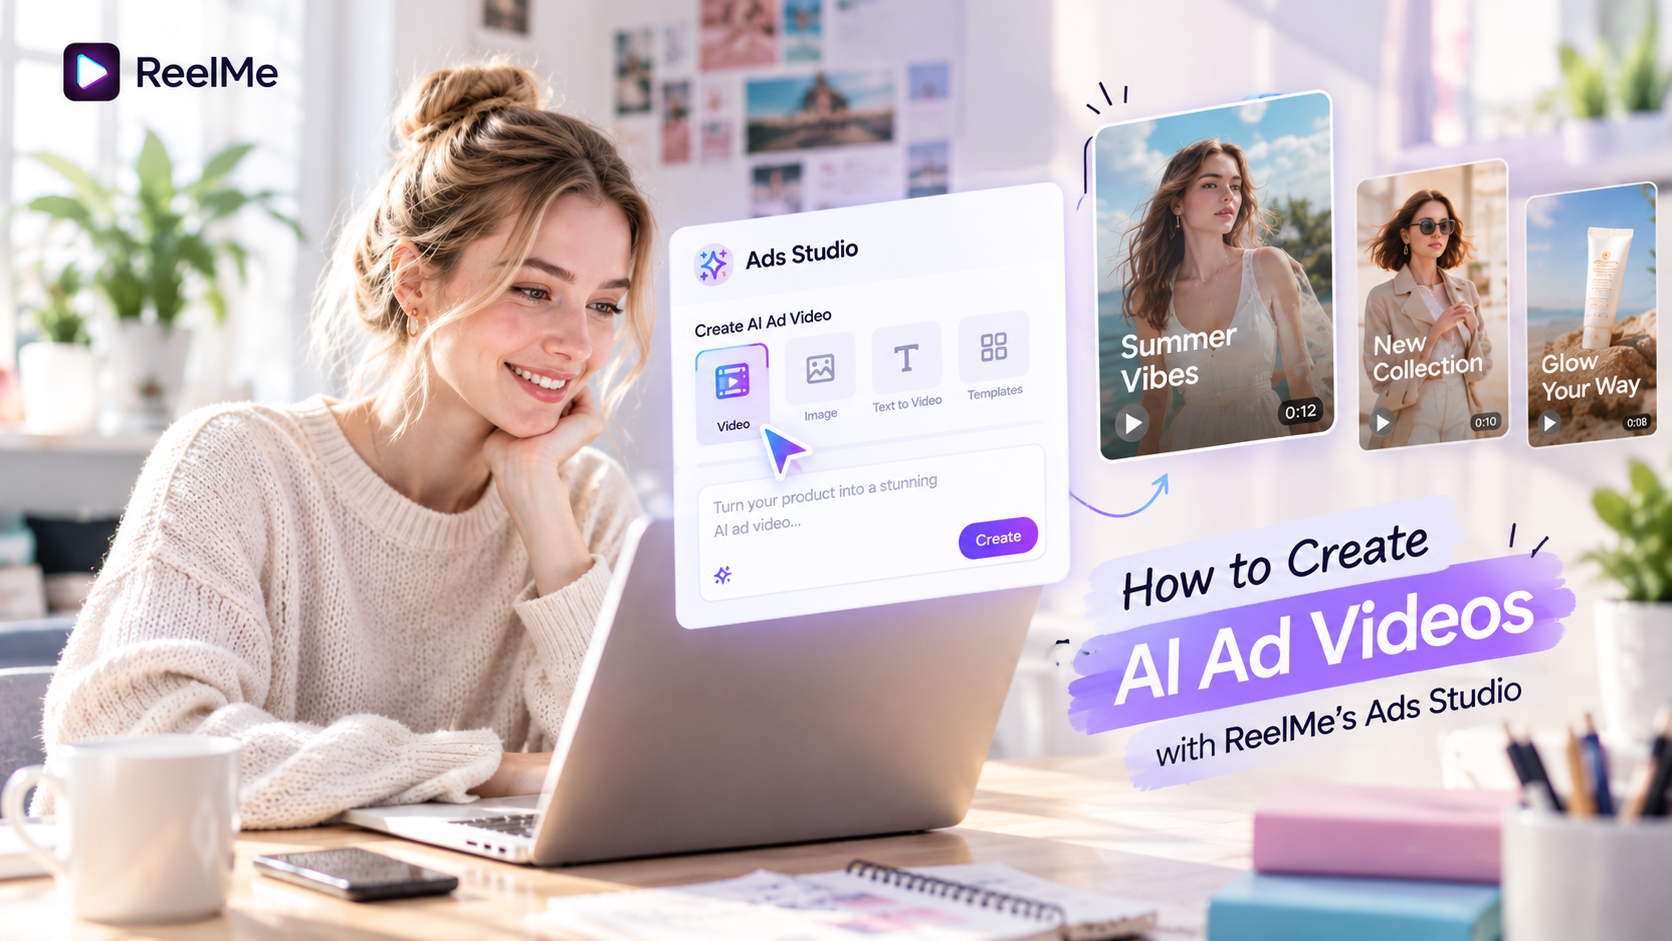
How to Create AI Ad Videos with ReelMe's Ads Studio
After covering the image tool and text-to-video, I went and tried Ads Studio — the newer feature ReelMe flags with a "New" tag in the main nav, accessible at:
reelme.art/studio/ads-studio
If Image and Video are general-purpose content creation tools, Ads Studio is built for one specific job: turning a product photo you already have into a finished ad video, as fast as possible.
How is Ads Studio different from the regular Video tool?
The Video tool (reelme.art/video) gives you full control — write your own prompt, pick your own model, set every parameter yourself. Flexible, but it assumes you already know how to write a good prompt.
Ads Studio goes the other way: templates first. You don't write a prompt from scratch — you pick a pre-built ad template (layout, cut pacing, and style already worked out), then drop your product into it.
In short: Video is "drive it yourself," Ads Studio is "the driver's already there, you just give the address."
Best fit for:
- Online sellers who need an ad fast and don't have time to learn prompt writing
- Marketing teams that need a consistent look across multiple products (same template, different products)
- Anyone who has never made an ad video before
Step 1: Open Ads Studio and sign in
Go to reelme.art, click Ads Studio in the nav (marked "New"), or use the link above directly. Sign in if you don't have an account yet — generated videos are saved to your My Assets.
If you want to browse templates before signing in, there's a Trending Templates page at reelme.art/studio/ads-studio/templates where you can look at styles first.
Step 2: Pick an ad template
This is the biggest difference from the regular Video tool. Instead of a blank screen waiting for a prompt, Ads Studio gives you a library of pre-built ad templates — each with its own visual style, pacing, and way of presenting a product.
When choosing a template, consider:
- Product type — a template built for cosmetics won't fit electronics or fashion the same way
- Platform — some templates are optimized for TikTok/Reels (vertical, fast cuts), others suit YouTube better
- Whether you want a person/avatar in the ad or not — some templates have a slot for an avatar presenting the product, others stay focused on the product alone
Browse a few templates before committing — the template shapes most of the final video's "feel," so getting it right up front saves a lot of re-editing later.
Step 3: Add your product photo
Upload your product image. This is what the AI uses as the main subject in the video.
A good product photo should be:
- Sharp and well-lit
- The product centered in frame, not blocked by other objects
- If you have multiple angles of the same product, try uploading a few — some templates use multiple images to build smoother rotating shots around the product
Step 4: Add an avatar (optional)
If the template you picked supports it, you can add an avatar — a virtual character or presenter who appears in the video to introduce, hold, or interact with the product. This step is optional; plenty of effective ads stay product-only with no presenter.
If you want a video that features a person but don't have the budget to hire a model, this is where an avatar earns its keep — the ad looks more human and builds more trust, without an actual shoot.
Step 5: Set format, hook, and setting
Three things shape the finished video:
- Format — the aspect ratio and length that fit your platform (vertical for TikTok/Reels, horizontal for YouTube)
- Hook — the opening line or moment that keeps viewers watching through the first 2–3 seconds. This is the single most important part of a short-form ad — a weak hook means the rest of the video, however good, barely gets seen
- Setting — the environment, lighting, and visual style surrounding the product in the video
If you're not sure what hook to write, think about the problem your product solves and open with that as a question or situation — rather than opening by naming the product.
Step 6: Generate and wait
Hit generate. Because Ads Studio assembles a complete video (not just one loose clip), processing usually takes longer than a single generation from the regular Video tool — expect to wait a bit.
Check the credit cost shown before confirming. Since Ads Studio combines several steps in one (building the scene, placing the product, adding the hook), the credit cost for a finished ad is typically higher than one standalone clip from the regular Video tool — in exchange, you get something ready to use without manual stitching afterward.
Step 7: Review, refine, and download
Once the video is ready, watch it all the way through before using it live. If something's off — logo blocked, product shown at a bad angle, hook not landing — you have two options:
- Regenerate with the same template, changing the hook or setting
- Send the video to the Edit tab in the Video tool (
reelme.art/video?tab=edit) to trim and fine-tune further
Finished videos are saved to My Assets (reelme.art/assets), where you can download them or share directly.
Three common mistakes when starting out
1. Skipping a careful look at templates. Picking the first one and realizing later it doesn't fit the product — that means starting over. Browse a few before deciding.
2. A weak or generic hook. "New product launch" isn't a hook — it gives viewers no reason to stay. A good hook speaks to a specific problem your viewer has.
3. Low-quality product photos. Ads Studio does a lot, but it can't turn a blurry, underlit photo into a sharp ad. Spend a minute reshooting a clean product photo before you start.
The whole process in seven steps
- Go to
reelme.art/studio/ads-studioand sign in - Pick a template that fits your product and platform
- Upload your product photo (and an avatar if you want one)
- Set the format, hook, and setting
- Check the credit cost, generate, and wait
- Review and refine using the Edit tab if needed
- Download from My Assets
If a generation fails, the Troubleshooting section in the Help Center (reelme.art/creator-hub/help-center) covers the common cases.
Happy creating your first ad.