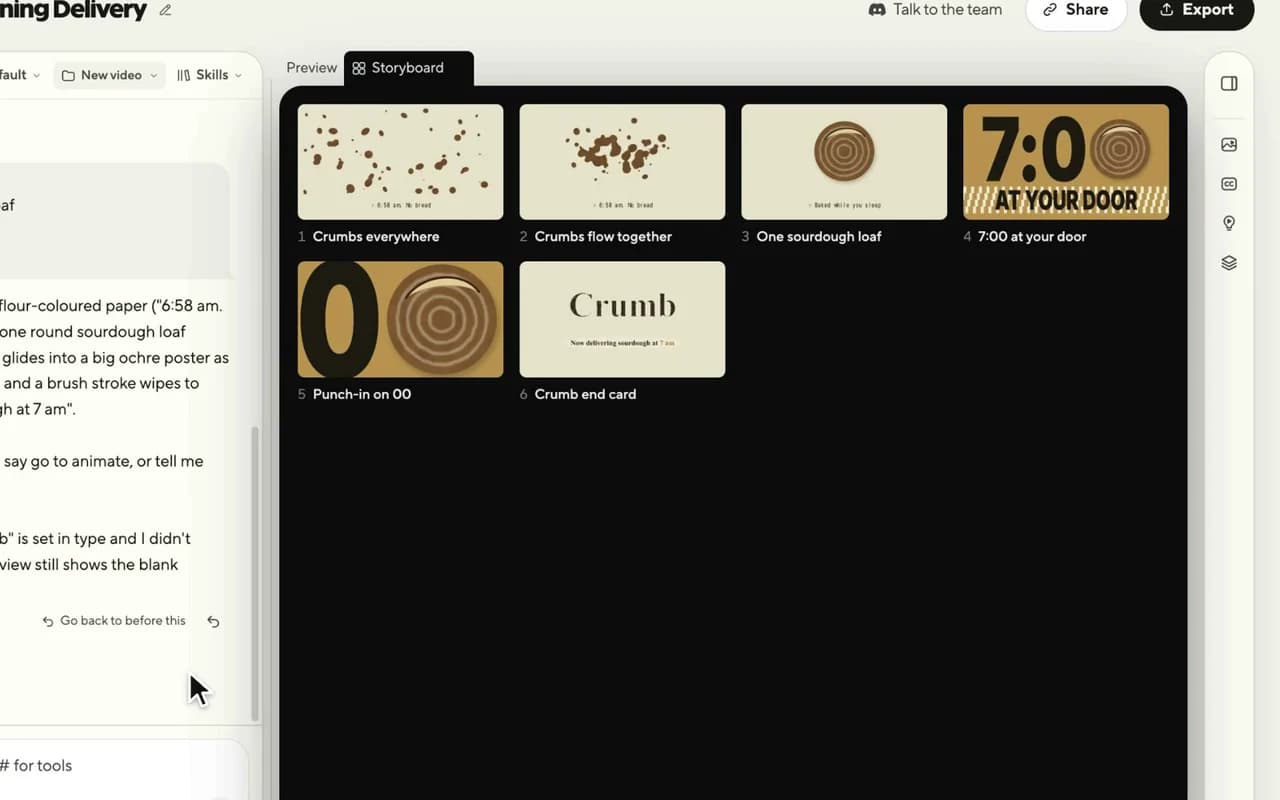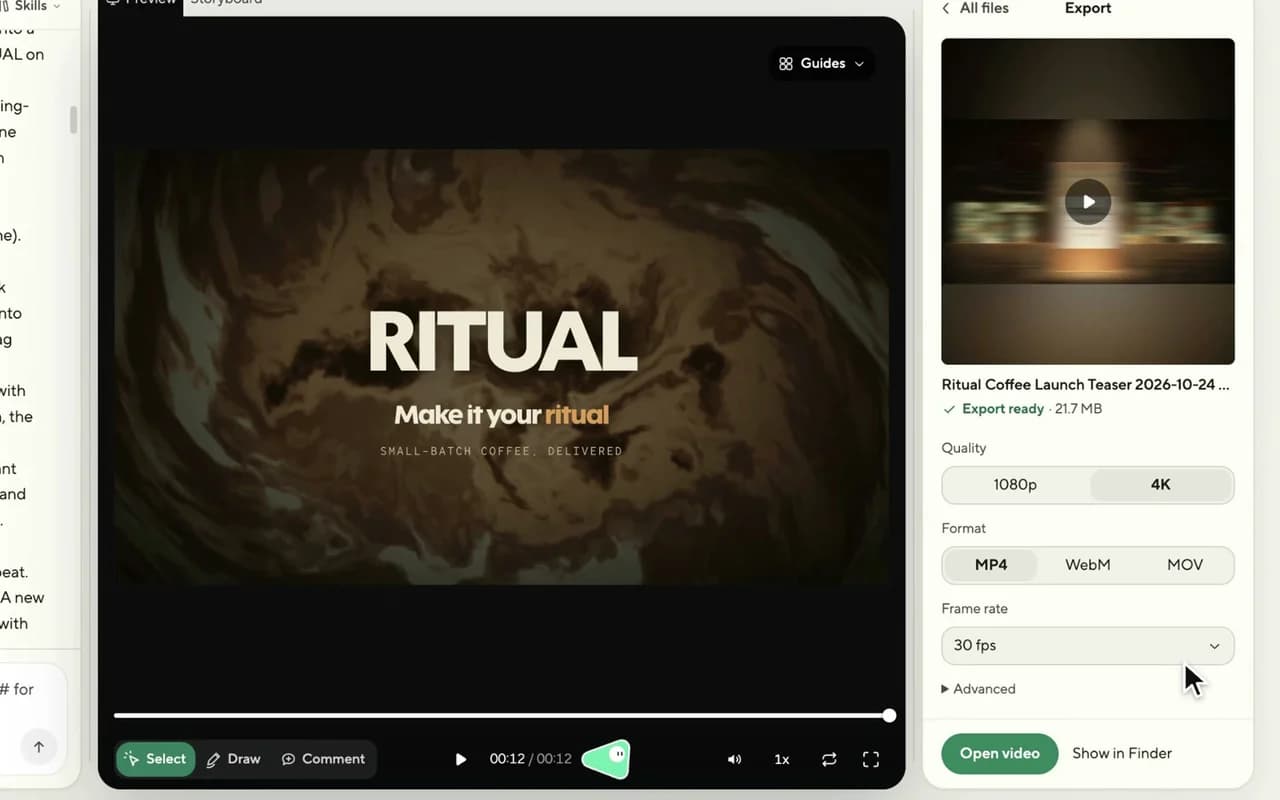

Remotion turns React components into real MP4 videos. Its README names three ways to work: agentically (turn your idea into a video using your coding agent), interactively (edit and animate like in a regular video editor) and programmatically (own your video as code). Because a video is code, one template plus new data gives you a new video: the README calls this video automation, from design systems to batch rendering. If Claude or another assistant writes your Remotion template, connect ReelMe MCP and the same assistant can generate the footage too.
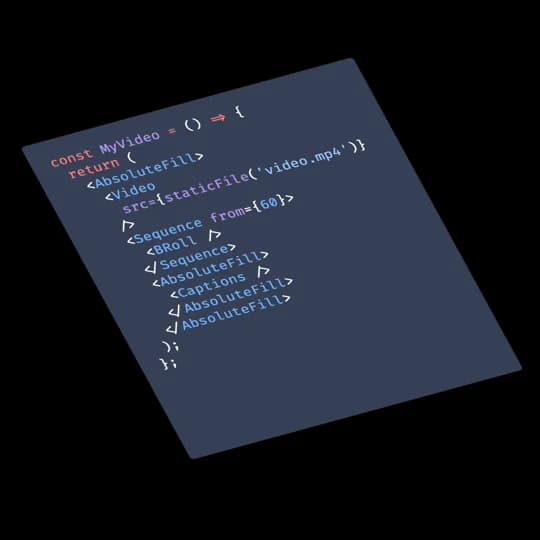
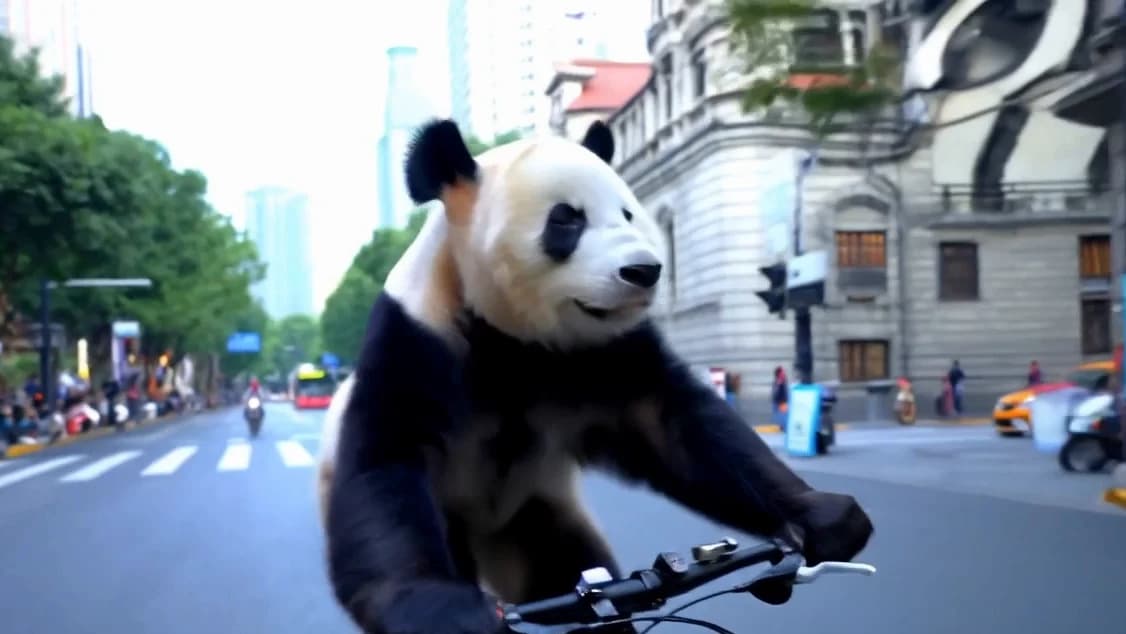
From the Remotion homepage: a vertical clip assembled in React, with word-by-word captions, a B-roll layer and the talking-head video.
How it works
A Remotion project is a React app. You describe each frame with components, preview it in Remotion Studio, then render it to a video file. Data passed in as props can change the content of the video, or its width, height, duration and frame rate. The docs run to over 1,200 pages.
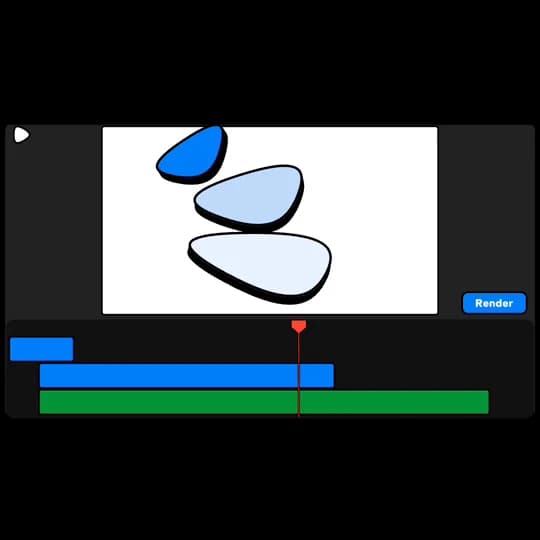
Remotion Studio from the homepage: shapes animate in the preview while the playhead moves along the timeline, with a Render button in the corner.
| Way to work | What you do (from the README and docs) |
|---|---|
| With an agent | Install Remotion's Agent Skills and ask, for example, /remotion-create Make a promo video for a record store |
| In Studio | Edit and animate like in a regular video editor: drag in videos, add effects, press Render |
| In code | Write React components; pass data as props to make one template into many videos |
| Render | From the terminal, from Node.js, or on AWS Lambda for many videos in parallel |
Building blocks you get out of the box
Remotion ships ready-made transitions, effects and Elements (drop-in building blocks such as captions, charts and lower thirds). The previews below are Remotion's own, from its docs and the Elements and Effects pages.
Transitions between scenes
Each demo goes from scene A, a glass tower, to scene B, a lake at sunset.
dreamyZoom()The tower zooms and rotates into a white flash, and the sunset lake comes out of it. | bookFlip()The tower turns away like a book page and the sunset lake is revealed underneath. |
ripple()The tower ripples like water as it dissolves into the sunset lake. | filmBurn()A glowing, blurry film burn carries the tower over to the sunset lake. |
Effects on any video or image
Effects change the pixels of a video, image or shape. Here the same glass tower photo gets six of them.
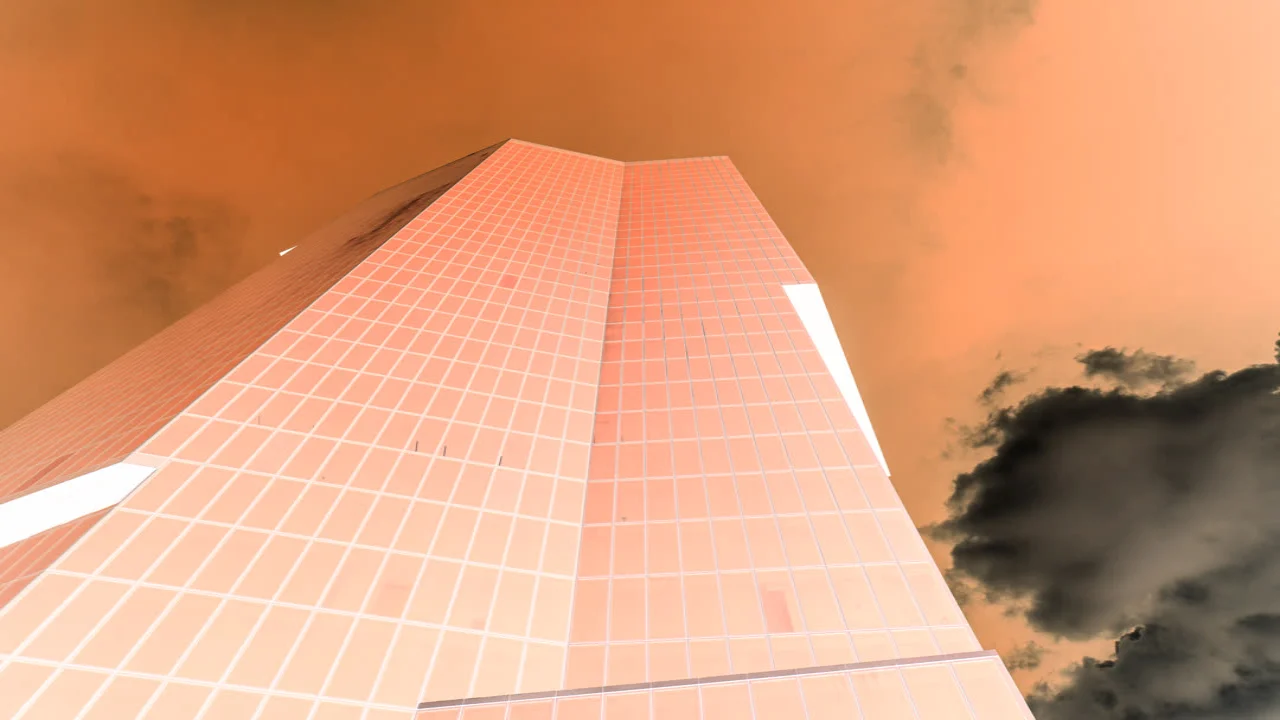 Invert: the colours flip, so the blue sky turns orange and the white clouds go dark. | 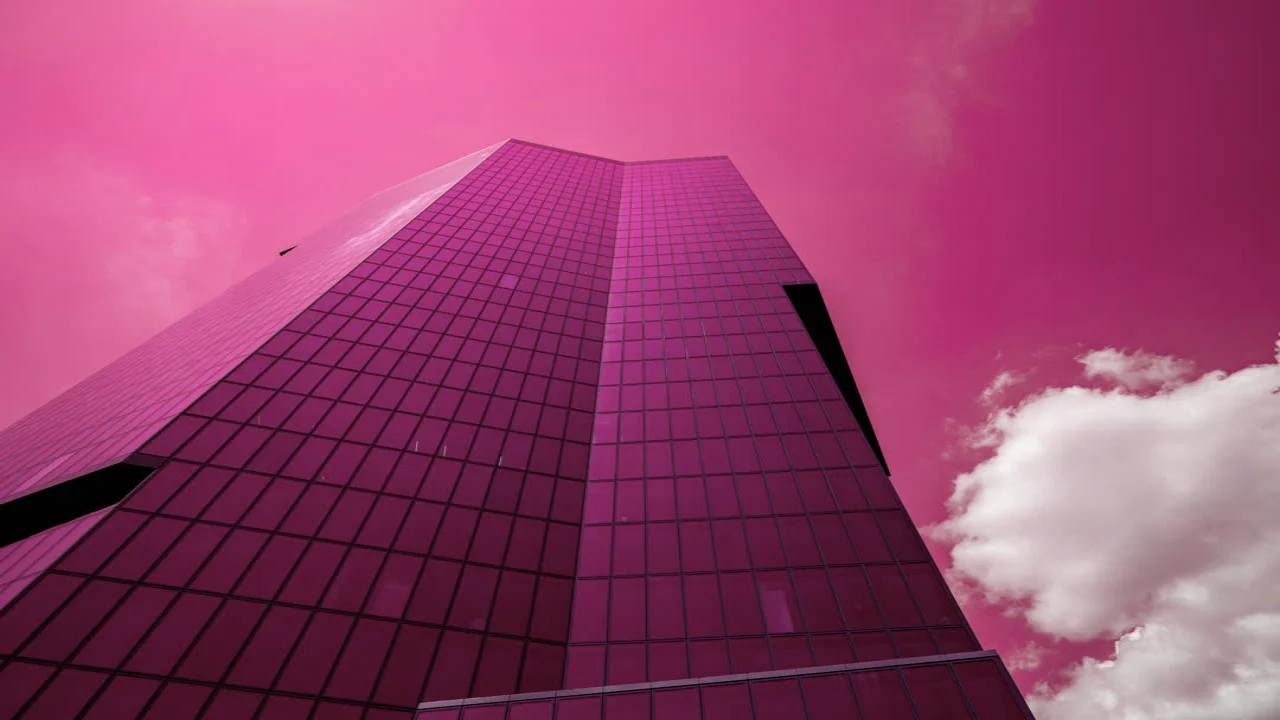 Hue: the blue sky and glass shift to magenta. |
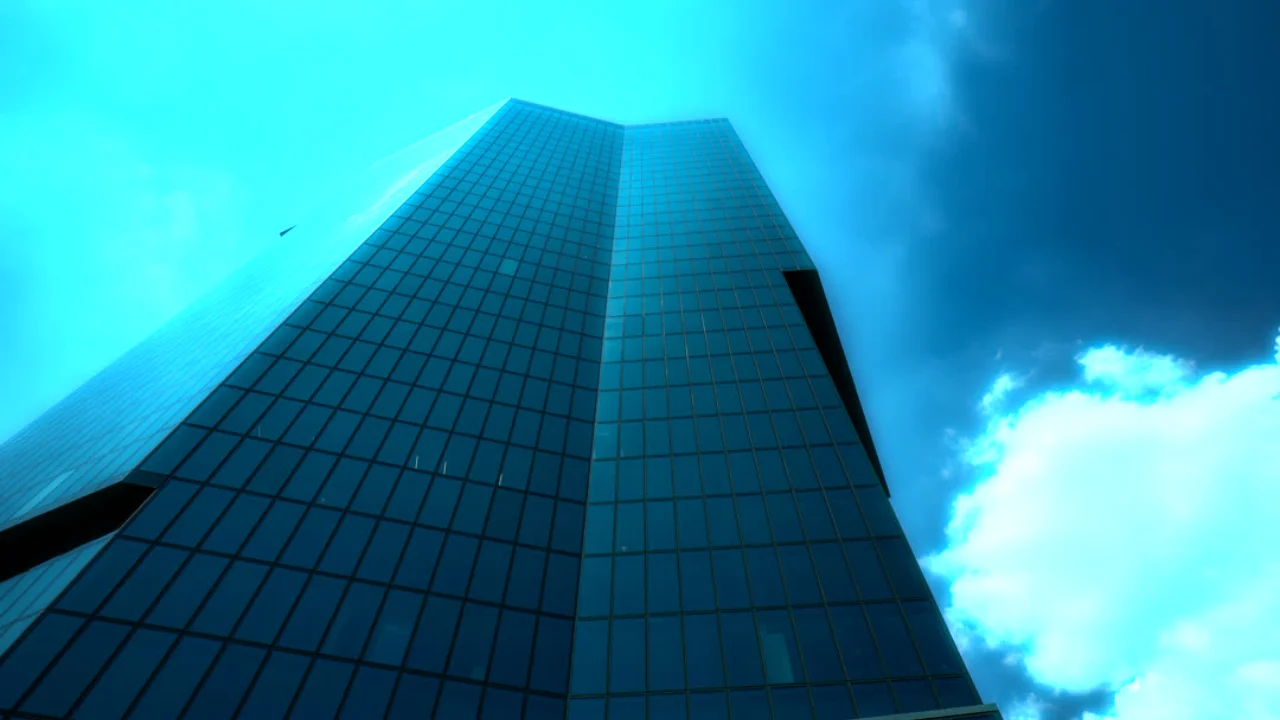 Glow: bright areas bloom in cyan light. |  Tile: the photo is mirrored into a kaleidoscope pattern. |
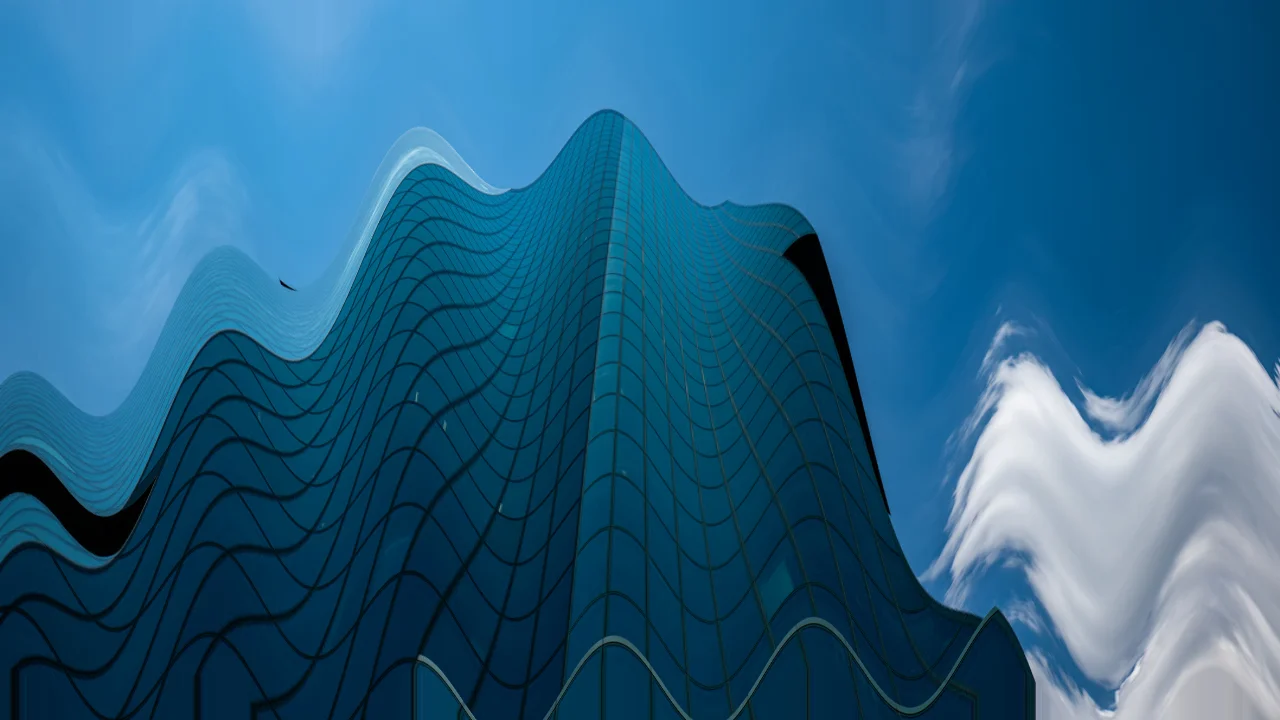 Wave: the tower bends in a wavy line. | 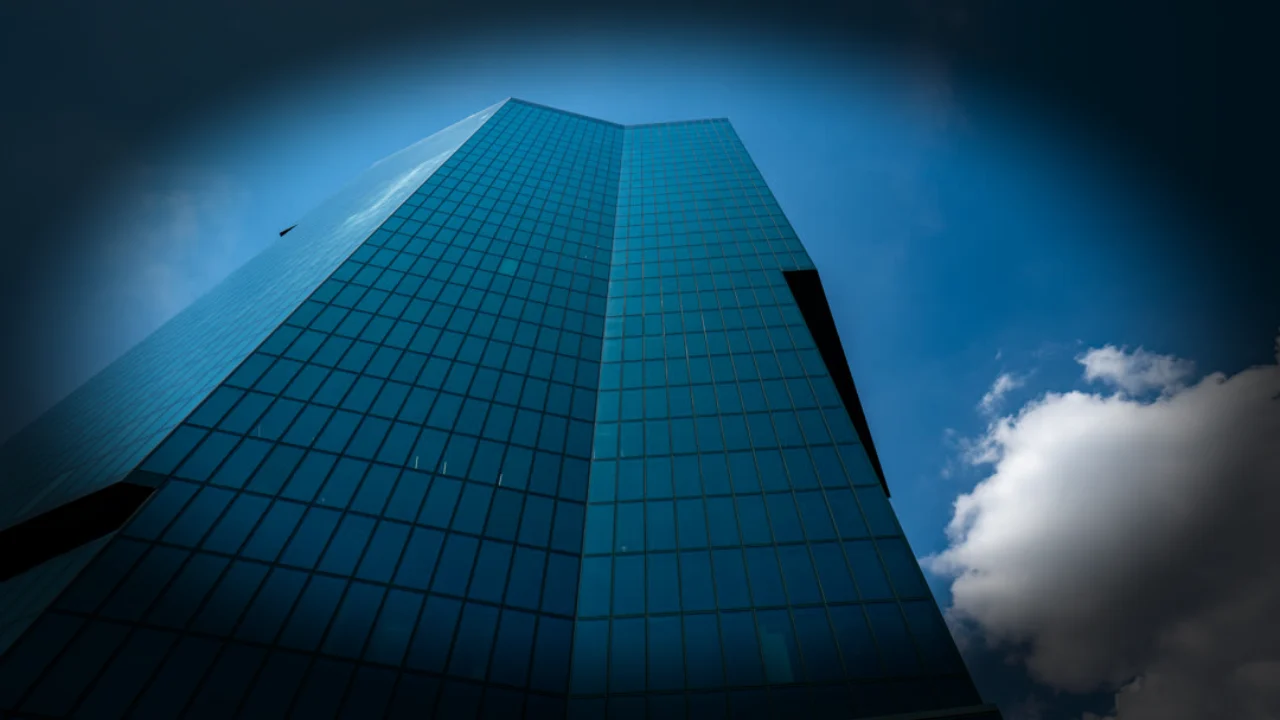 Vignette: the corners fade to dark. |
Elements: captions, products, maps
Elements are reusable building blocks written as React components. Studio copies the code into your project, so you can change everything.
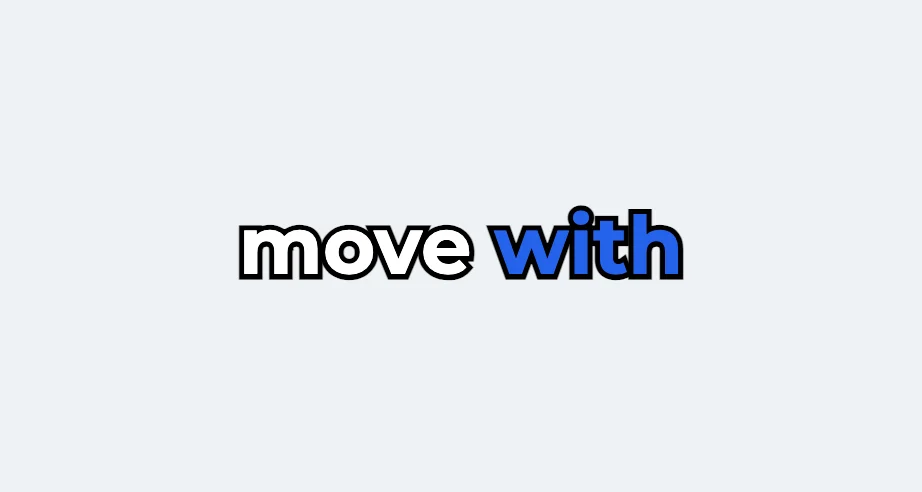 Word Highlight Captions: the word being spoken gets coloured blue. | 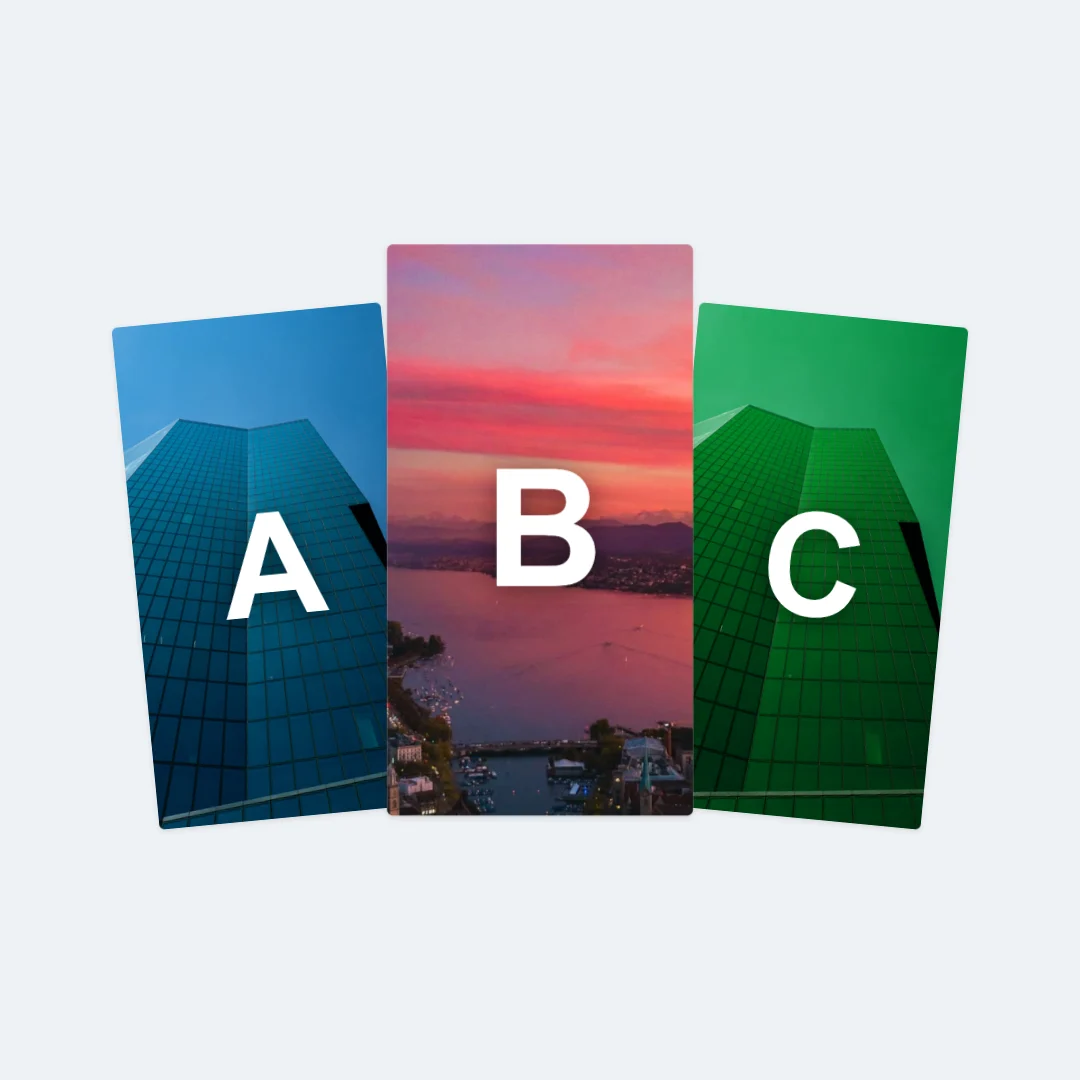 Product Collection: three product photos, marked A, B and C, fanned out like cards. |
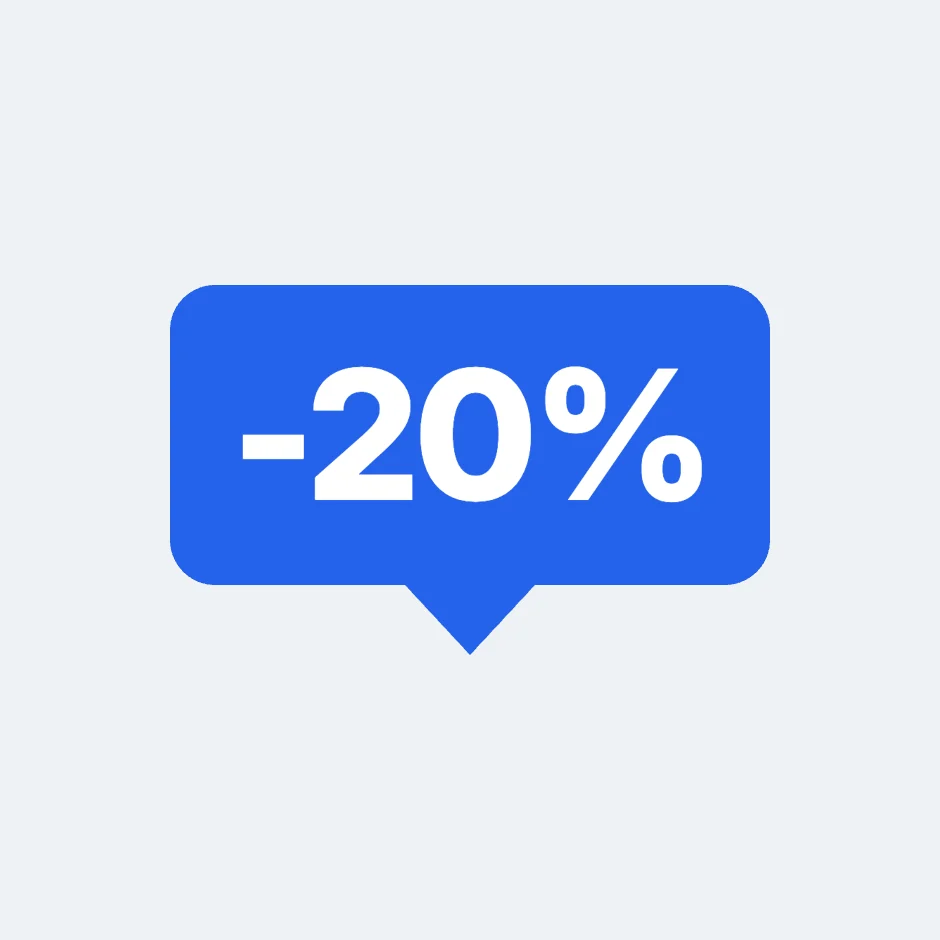 Product Discount Callout: a blue "-20%" speech bubble. | 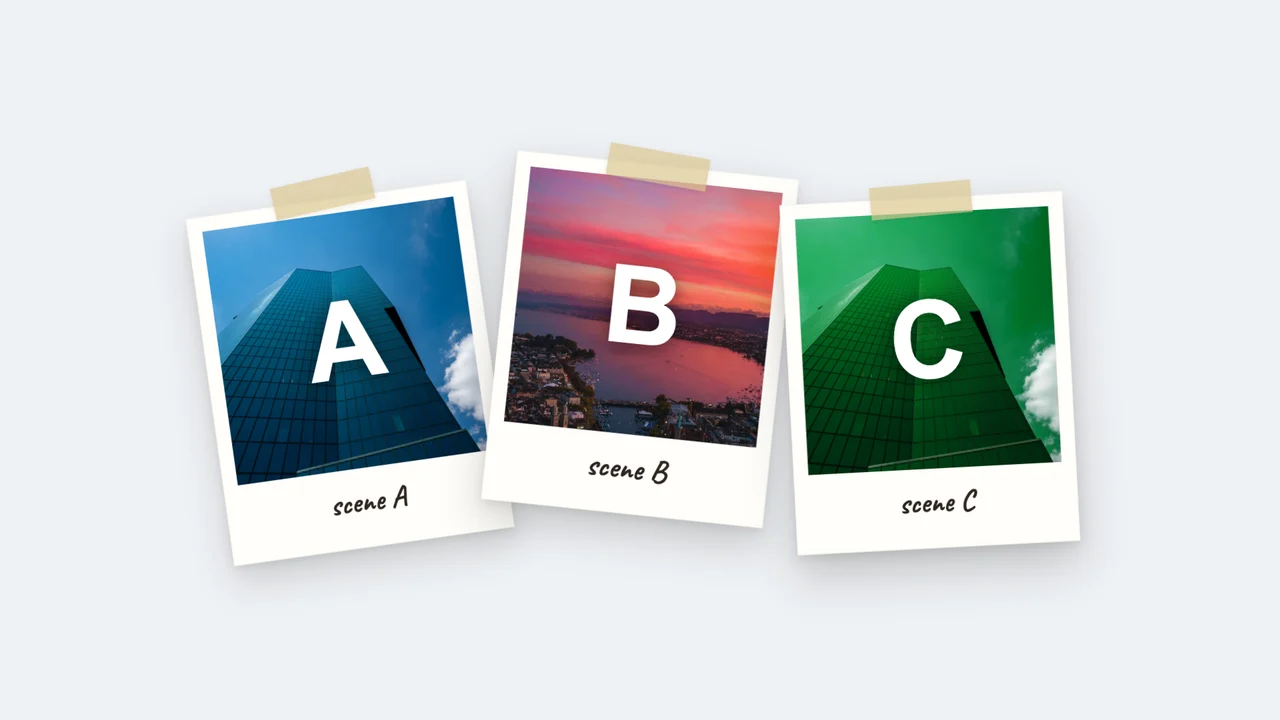 Polaroid Pictures: three photos taped down like instant prints. |
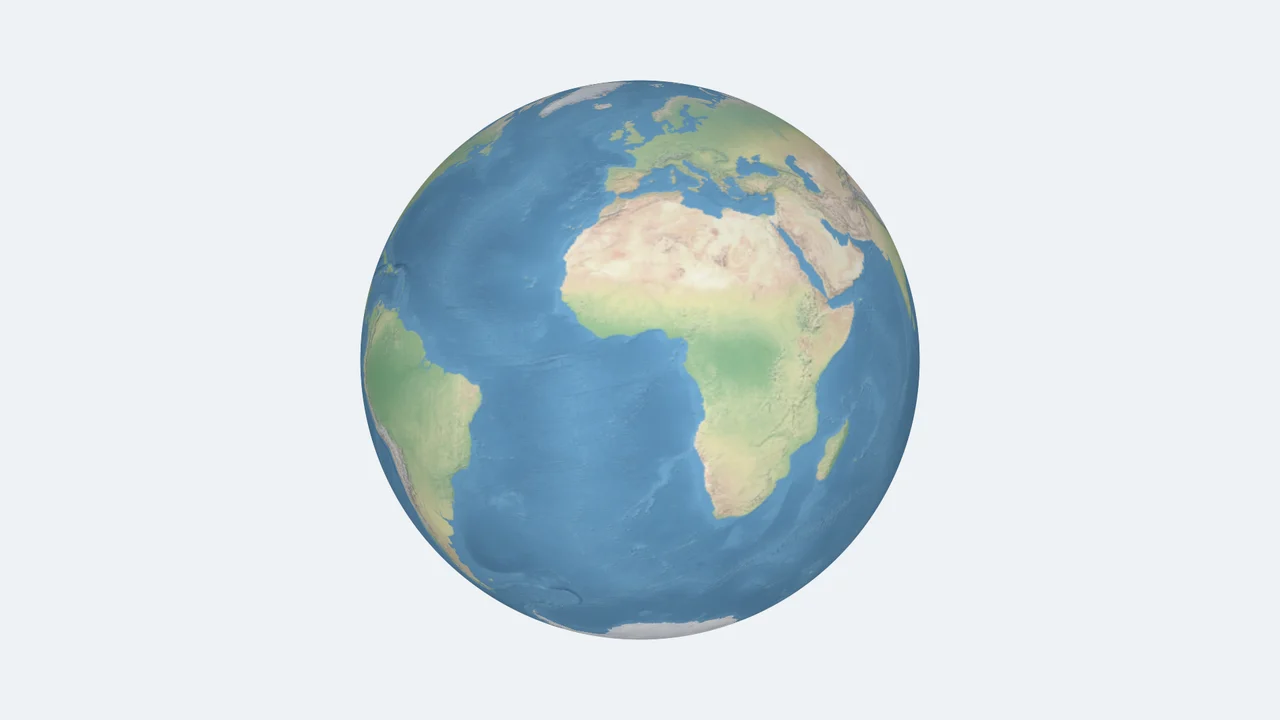 Spinning Globe: a 3D Earth that turns in the frame. | 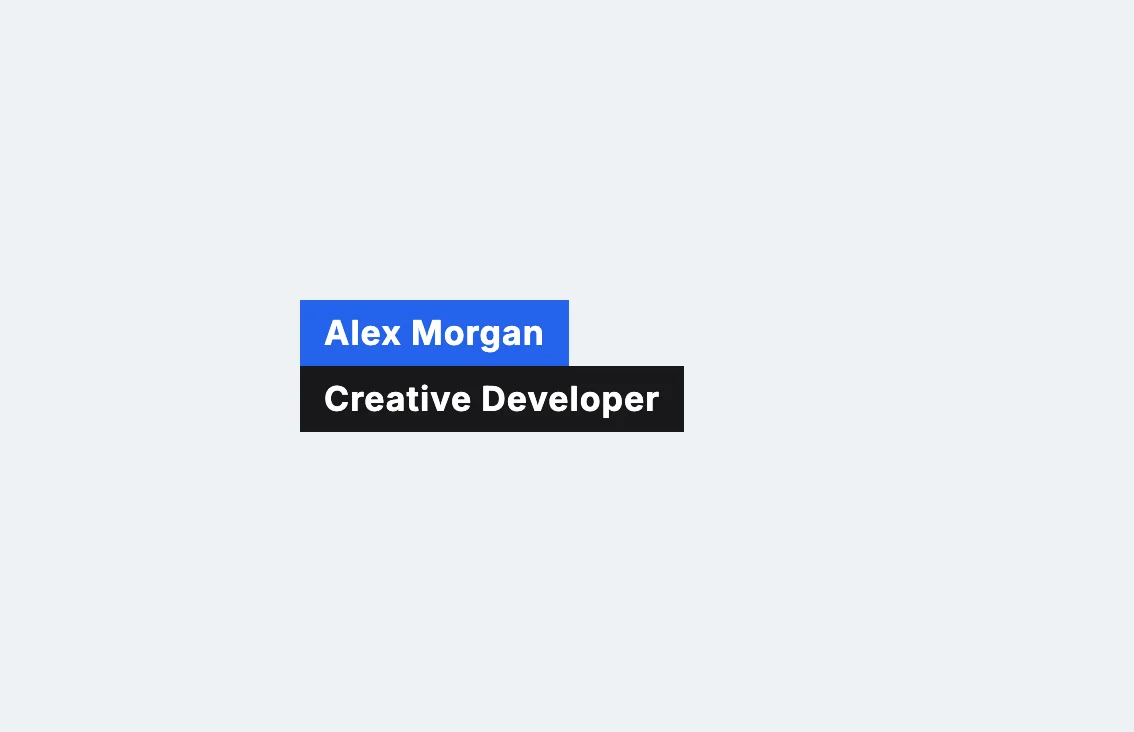 Name Lower Third: a name and job title in two labels. |
There are more transitions, effects and Elements in the docs, and you can also write your own.
Make a video with your coding agent
Remotion maintains Agent Skills: best practices that coding agents load when they work in a Remotion project. In a project, add them with one command, or pass --skills when you create a new project. Then ask in plain words. The docs suggest prompts like /remotion-create Make a promo video for a record store; other skills cover markup, captions, maps and rendering.
Add the skills to a Remotion project:npx remotion skills add
Ideally, the agent opens Remotion Studio for you, so you can preview the result. From there, anything can be edited in Studio, with the agent or in code: delete items, send a follow-up prompt, or open the code.
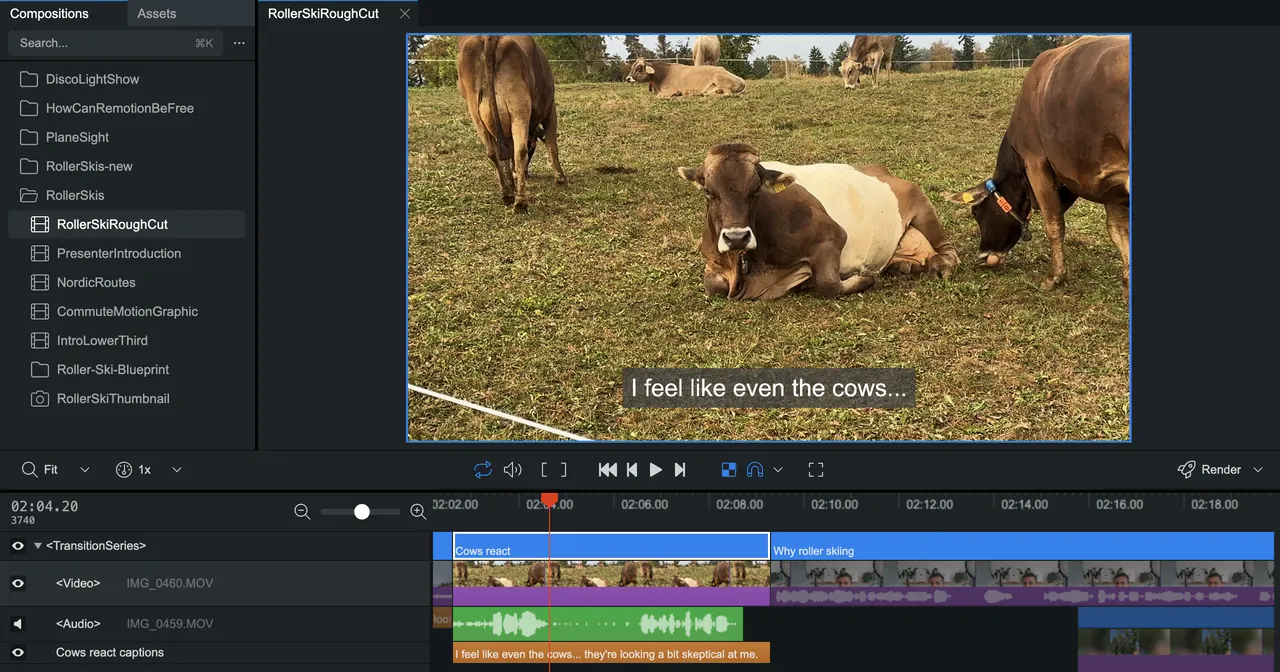
Remotion Studio from the docs: a scene of cows in a meadow, with a caption over it and the video, audio and caption tracks on the timeline below.
Edit in Studio, like a video editor
Effects change the pixels of videos, images, solids and shapes, and they can be added programmatically, interactively or agentically. In Studio you drag an effect onto an element and tune its settings in the Inspector. Multiple effects can be combined; they apply in the order they are listed. Custom effects can use 2D Canvas APIs, WebGL2 and WebGPU.
A Studio session from the Remotion repo: search the effects list, add the burlap effect to a white solid, and its Amount, Size and Roughness settings appear in the Inspector.
One template, many videos
Remotion can ingest, validate, visually edit and transform the data behind a video. That data can change what is on screen, or the width, height, duration and frame rate. So you design one template, then feed it a title, a product photo or a whole JSON dataset: the docs show a batch render that creates many videos from a dataset.
From the Remotion repo: the title "Summer collection" types itself into a video next to a text field and a Render button, then the same title shows up as an editable layer in an editor with a timeline.
Render one video, or millions
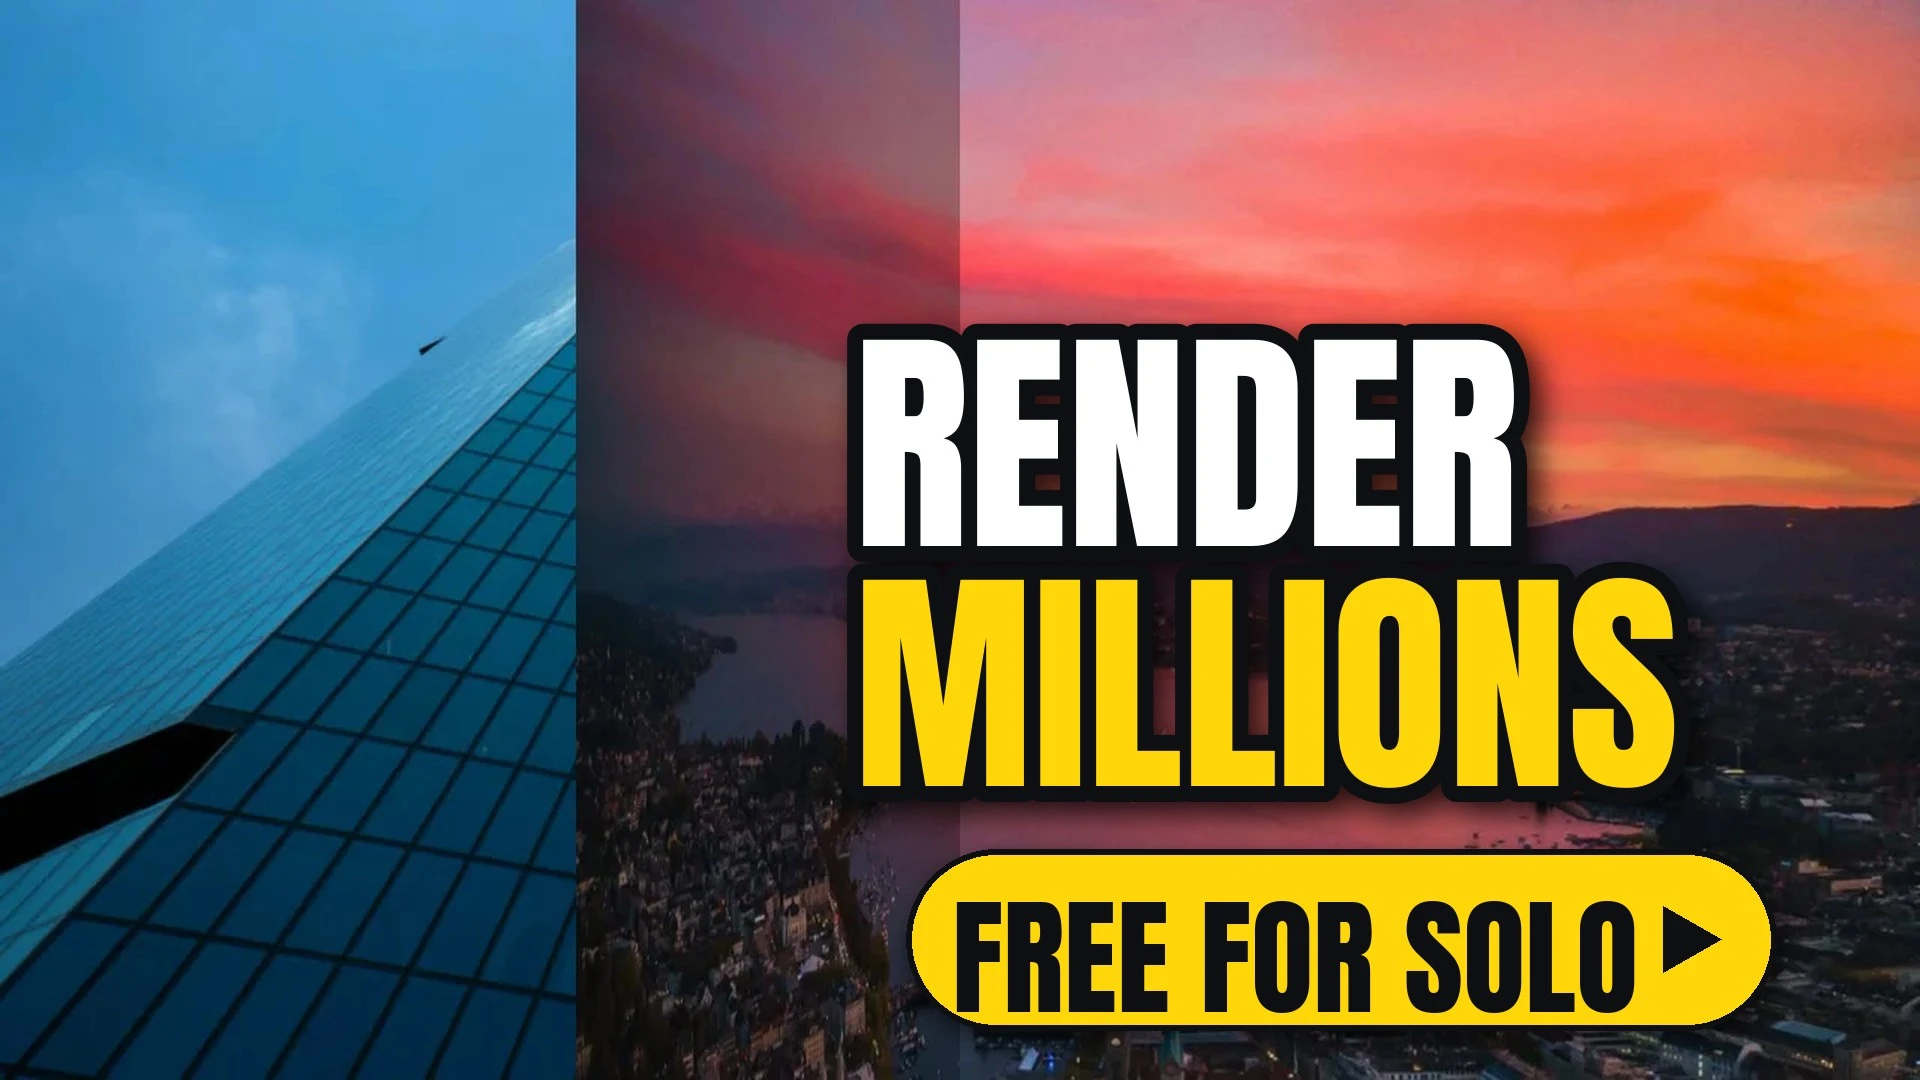
Render from the terminal, from Node.js, or on AWS Lambda, which the docs call the fastest and most scalable way to render Remotion videos: many Lambda functions each render a small part of the video in parallel, and you only pay while you are rendering. The README sums it up: render millions of videos on your own infrastructure.
Render a composition from the terminal (leave out the ID to pick from a list):npx remotion render HelloWorld
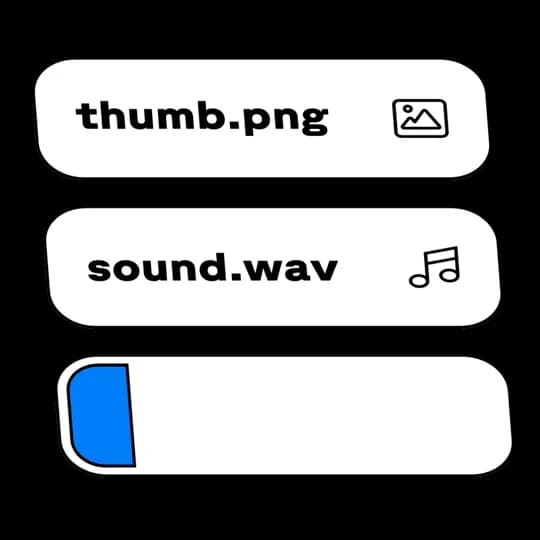
From the Remotion homepage: file cards for funny.gif, video.mp4, thumb.png and sound.wav scroll past while a blue progress bar fills up for each render.
Put it inside your own app
With the Remotion Player you can embed Remotion videos in any React app and change the content at runtime, without rendering a file first. The README lists apps from a simple tool to a complex video editor, and the Next.js and React Router templates already include the Player and cloud rendering.
From the Remotion homepage: in an editor app, the prompt "Animate from NY to LA" draws a route across a map of the United States, then shows Done.
Quick start
You need Node.js installed; otherwise start with the installation page. The command creates a new project and offers to add the Agent Skills; pass --skills to install them all without a prompt. Then open the project in your coding agent, or start Studio and edit there.
Already have a Remotion project? Add the Agent Skills to it:npx remotion skills add
Render without a composition ID and Remotion shows a picker:npx remotion render
Requirements and license
- Node.js: to create the project and run Studio.
- React: videos are React components, so some React helps (or let your agent write it).
- An AWS account: only if you render on AWS Lambda.
- The right license: free for most people, see below.
Remotion uses its own Remotion License: the source code is available and the program is free for most. It is free, also for commercial videos, if you are an individual, a for-profit organization with up to 3 employees, a non-profit, or still evaluating it. Larger for-profit companies need a paid Company License. You may not copy or modify Remotion code to sell, rent or relicense your own version of Remotion. The license file also notes that the license will slightly change in Remotion 5.0.
Where it fits with AI video
Remotion is great at the layer on top: captions, titles, prices, transitions and the layout that stays the same in every video. ReelMe makes the footage underneath. Generate the shots in ReelMe Video (reelme.ai/video?mode=t2v), then lay your Remotion template over them and render one video per row of your data.
Credits
Remotion by Remotion, under the Remotion License. The clips and pictures come from the Remotion repo (homepage videos, transition demos, the Studio recording and docs screenshots) and from remotion.dev (the Elements and Effects previews). Clips are re-encoded, shortened and silent; some pictures are cropped.